

Validate Email - Screen Flow Action
The Screen Flow Action "Validate Email" lets you validate an email address in a screen flow.
How to use Validate Email in your flow
1 Add the "Validate Email" Flow Action to your flow
- Open the Lightning Flow Builder.
- From the Elements section, drag a new screen from the Toolbox onto the canvas.

- At Label and API Name, define a label and an API name for the screen.
- From the Screen Components section, scroll down to 'Custom' and drag the
Plauti Verify - Validate Emailscreen component onto the screen.
2 Fill out the fields
- At API Name at right, define an API name for the screen component. For example
ValidateEmail. - Field API Name is used for saving the validation results. Enter the Email Field's API Name that is mapped in Verify Setup > the Object > Email Validation. (If needed, enable the "Verify Setup - Enable API Names" setting in the Verify Setup Settings to make the API names visible)
- Optionally, fill out the other fields with variables or fixed values, or leave them blank.
- Click Done.
- Add a second "Plauti Verify - Validate Email" component to the screen and repeat the steps above if you want to present two email addresses to validate (e.g. Home and Work Email).
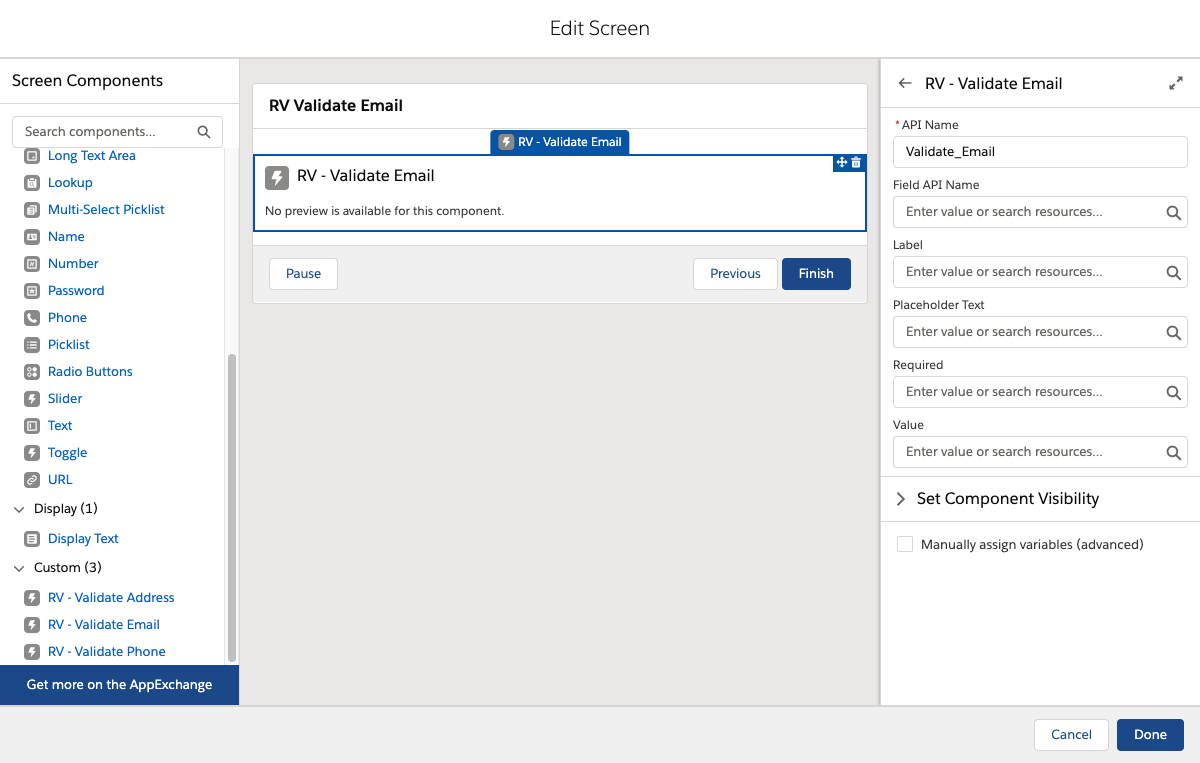
Example of the Validate Email Flow Component
Step 3 Connect your screen to the Start trigger
Make sure the screen is connected to the Start trigger.
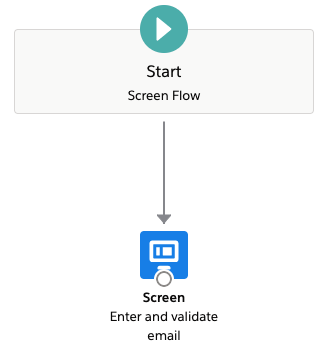
Step 4 Run the flow
- Save the flow, give it a name and click Run.
- In the test, fill out the email address and Plauti Verify will validate it for you.
This Flow Action only validates the input; it does not save the result. Learn more about how to save the validation results.