This Quick Setup Guide shows you the most basic steps needed to get going, and to get an idea of how Plauti Assign, or PA for short, works. After finishing this initial setup you can expand the Plauti Assign configuration, and tailor its configuration to your specific needs.
Plauti Assign installs by default with support for the Lead, Account, Contact, Opportunity, Task and Case objects. This quick setup guide configures the simplest scenario with the Lead object - one team, no rules, all leads get assigned to the team in a round robin fashion. You can apply the same steps for Account, Contact, Case, Task and Opportunity.
To set up PA for other objects, please refer to this guide for other Standard and Custom Objects.
Once you are happy with the basic setup, and want to include rules to segment records and route leads to specific groups, check out the Match Rule guide and other knowledge base articles.
Prerequisites
- You have installed Plauti Assign.
- You have read the Important Concepts article (optional but recommended)
Check your installation
| Go to the App Launcher and open Plauti Assign. |  |
The app should open with tabs like MatchGroups, Assignee Summary, MatchLogs, etc.

Grant access
Permissions
Next, if you are in a Sandbox org, add yourself to Plauti Assign's administrator permission set, called Plauti Assign Admin.
If you installed Plauti Assign in Production, you already have access to all features of Plauti Assign because you are a system administrator, but you can add non-sysadmins to the permission set to give them access to the managing features of the app.
To add yourself or other users to the Plauti Assign Admin permission set:
- Go to Salesforce Setup > Permission Sets > Plauti Assign Admin.
- Click Manage Assignments.
- Click Add Assignment
 top right.
 - Tick the box in front of the user you want to assign.
- Click Next and then Assign.
This Permission Set assignment is required for anyone that needs to be able to configure Plauti Assign: usually admins, sometimes team managers. In Sandbox it is needed even if a user is a System Administrator.
The Plauti Assign User permission set is assigned automatically to users when you add them as an Assignee in a Match Group.
Licenses
- If you have installed Plauti Assign into a Production org, it will have allocated you a Plauti Assign license. Licenses for other users follow later in the setup process.
- If you are using a Sandbox, then Plauti Assign installs with a site-wide license so you don't have to worry about allocating licenses yet.
Select Objects to process
Decide for which Objects you want to use Plauti Assign for now. You can always change this setting to process other Objects again as well.
By default the Lead, Account, Contact, Opportunity, Case, Task and Event Objects are enabled. Follow the steps below to disable one or more of those Objects.
- In the Plauti Assign app, go to Assign Setup > Object Configuration.
- In the 'Objects' section, click Configure
 at right.
 - Toggle the Objects you want to disable for processing by Plauti Assign to Inactive.
If you leave an Object Active but you don't use Plauti Assign on that Object, nothing sinister will happen, but it will consume a few more milliseconds of CPU if you leave it active unnecessarily. - Click Apply
 .
.
It is recommended to start out with one or more of the default Objects. Later on you can enable other standard or custom objects as well. Read more in Enable Assign for other standard or custom objects.
Create a Match Group
Match Groups define which records are assigned to which users. Records that match the Match Rules are assigned in a round robin fashion to the Assignees added to the Match Group.
To start, create a simple MatchGroup with basic settings, and no Match Rules yet.
- In Plauti Assign, go to Assign Setup > Match Groups.
- At top right, click New
 .
. - Leave the Match Group inactive for now.
- Enter a descriptive name for the Match Group.
- Select the Object this Match Group will process, e.g. 'Lead'.
- Select the Assignment Field: the User lookup field that will contain the record assignee. The Match Group will assign records to the user in this field.
By default this field will be 'Owner ID'. - Leave the Operational Mode set to “Round Robin”.
Learn more about the other options, such as Load Balancing or Distance, here. - Leave the Priority as “1”. Priority is used when you have mutually non-exclusive MatchGroups.
- Select a Queue User. If all Assignees happen to be unavailable, records will be temporarily “parked” with this user until an Assignee becomes available again. The queue user will not work on records, so it could also be a system administrator.
- Leave the other settings as they are for now.
- Click Save
 .
.
After saving, the new Match Group's page appears. It will indicate that it is currently deactivated.
Later on you can add more Match Group specifications here, such as Match Rules, For now you can leave the default settings as they are: no MatchRules yet, and assigning records to the Owner ID of Leads.

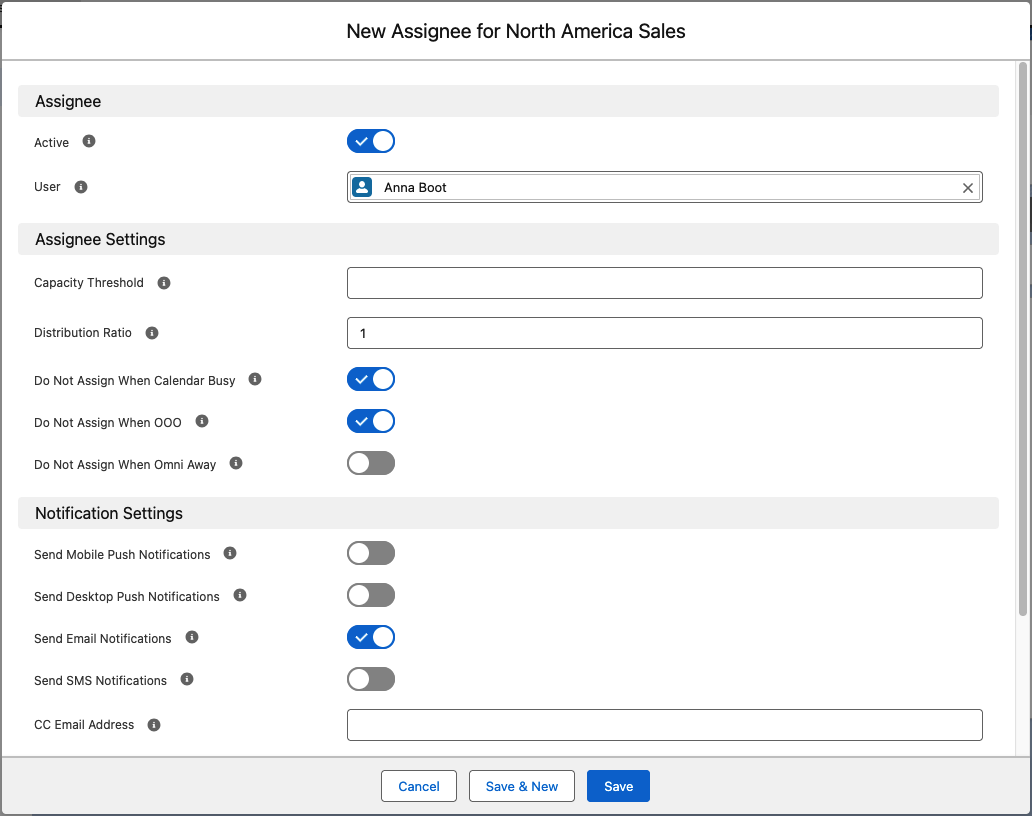
Add Assignees
Assignees are the users that each get a record assigned in turn. Add the Assignees you want to start out with to the Match Group.
The steps listed below are the minimum required steps to get started. Read more about Assignees and fill out the other Assignee settings, now or later when you expand your Plauti Assign configuration.
- In the Match Group you just created, on tab Assignees, click Add
 .
. - Make sure Active is enabled.
- In the User lookup, find the user you want to add.
- Leave the settings in the Assignee Settings section as they are for now.
- Toggle the Notification settings if you want the user to receive notifications for each new record that is assigned to them.
- Click Save or Save & New.
- Repeat steps 1-6 for all users you want to add as Assignee.
A Plauti Assign license is automatically allocated to every User that you add as an Assignee. Each User has been assigned the Plauti Assign User permission set as well.
Activate the Match Group
Once you're done setting up the Match Group, make sure to activate it:
- In the Match Group, at top right, click Activate
 .
.
A message in red will now state that this Match Group is active but has no active Match Rules. Therefore all records of the object will match.
This means that all new Lead records will now be assigned to the Assignees in this MatchGroup in a round robin fashion. We will verify this in the next step.
Test the setup
The easiest way to check that Plauti Assign is running is to create a few test records (Leads in this example) manually.
- Doublecheck that the Match Group status is set to Active.
- Head over to your Leads tab and create a new Lead.
- Fill in the required fields and Save the Lead record.
 Plauti Assign will now assign the Lead.
- Check the Lead Owner of the new Lead: it should be one of users that you added as Assignees.
- In a Leads ListView, add the "Use Plauti Assign" field to the view. For the new Lead you just created, that field should now state "ASSIGNED".
- If the Use Plauti Assign field states FALSE for the new Lead, change it to TRUE and wait. Plauti Assign will assign the record.
- If the Use Plauti Assign field states NOMATCH for the new Lead, the Match Group is not yet active. If you are already using Match Rules, another meaning could be that no Match Rules matched the record. - Go to the Match Logs tab and select the All ListView. You should see a Match Log record corresponding to the Lead you just created.
- If Send Email Notifications was checked for the Assignee that is now the Lead Owner, they should have received an email.
- See Using the Use Plauti Assign field for more information on the different field values.
- The default value for Leads is TRUE, and for other Objects it's FALSE. See Setting default value for Use Plauti Assign to change this.
Turn on the Queue Processor
When all your Assignees are unavailable, perhaps because they are all Out of Office, or at capacity, etc., new records will be assigned to the Queue User that you specified in the "Create a Match Group" step instead.
Plauti Assign runs a process every 10 minutes to attempt assignment of these queued records. This process needs to be enabled when you start using PA for the first time.
To enable the Process Queued Records jobs:
- Go to Assign Setup > Jobs & Maintenance.
- At 'Create Jobs', click Create Jobs
 .
. - Go to Salesforce Setup > Scheduled Jobs. Check that seven 'SRR' jobs have been added.
Plauti Assign will now automatically change assignment of the queued records from the Queue User to actual Assignees when your Assignees become available again.
Explore all Plauti Assign options for efficient record routing
As your ORG and sales processes get more sophisticated, Plauti Assign helps you keep it all automated: create more Match Groups with Match Rules to specify where subsets of leads are routed, show your users how to set their Out of Office, and when you start doing multi-stage lead routing, variable distribution ratios, lead capping, assigning to owners of related Accounts, come back here to get all the guidance. Oh and be sure to check out the Logs and Reports!
Need help? Contact us at Plauti.com/Contact!
