From Version 7 of Plauti Assign you can edit the email templates that are used for the assignment notifications, and override which template is used at the Match Group level. You can also specify a CC Email Address on the Assignee screen.

Installed Notification Templates
When Plauti Assign is installed, it creates a number of email templates in the Classic Email Templates > ‘SuperRoundRobin’ folder:
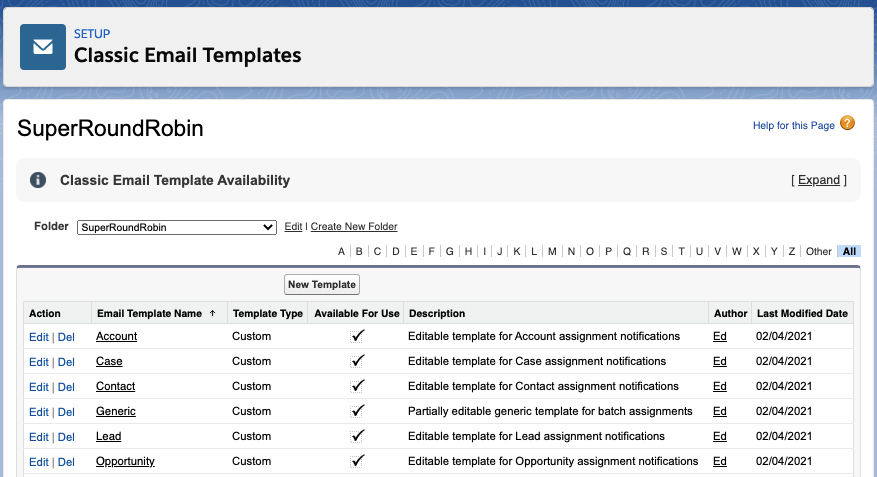
There is a template for each of the standard objects that come pre-enabled in Plauti Assign: Lead, Contact, Account, Case, Task and Opportunity, as well as a generic template.
Editing Notification Templates
These are regular Classic Email Templates. You can edit the HTML or Plain Text sections and use merge fields as normal; adding or removing any of the merge fields that are used. If you are unsure about editing email templates, especially HTML ones, make a copy (clone) of a template before you make any changes. Then you can always revert to your clone if your editing causes the HTML to break.
After making changes and saving, make sure to purge the Platform Cache in Assign Setup > Jobs & Maintenance!
Do not delete templates or change their names!
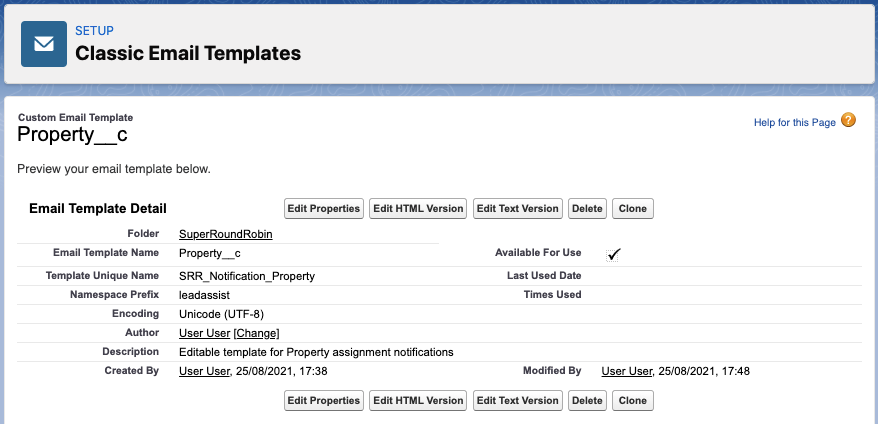
Do not delete these templates, nor change the Email Template Name or the Template Unique Name for the pre-installed templates. It will not be picked up by Plauti Assign if you change either of those fields. All notification templates must be stored in the ‘SuperRoundRobin’ folder.
Adding Notification Templates for Other Objects
To create templates for other Objects that you enabled for Plauti Assign:
- Clone one of the existing notification templates, such as the Lead one.
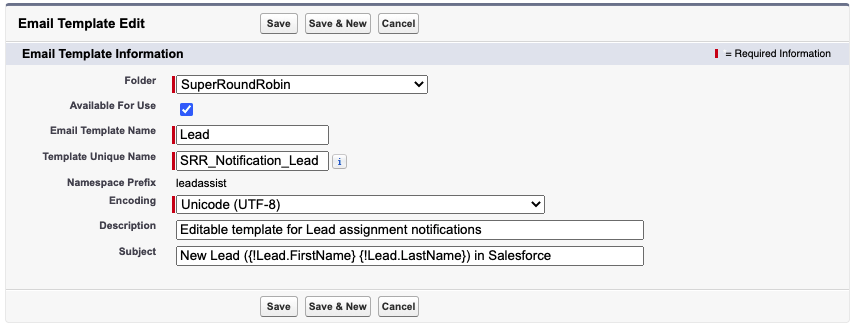
- In Email Template Name, enter the API Name of the object. If it is a standard object like Task, enter
Task. If it is a custom object like Property, then enter the API Name which will beProperty__c. - In Template Unique Name, enter the Name of the object, but prefixed with
SRR_Notification_.
So for our custom Property object, you would enterSRR_Notification_Property.
Plauti Assign uses this convention to pick out the right template for the record being assigned.
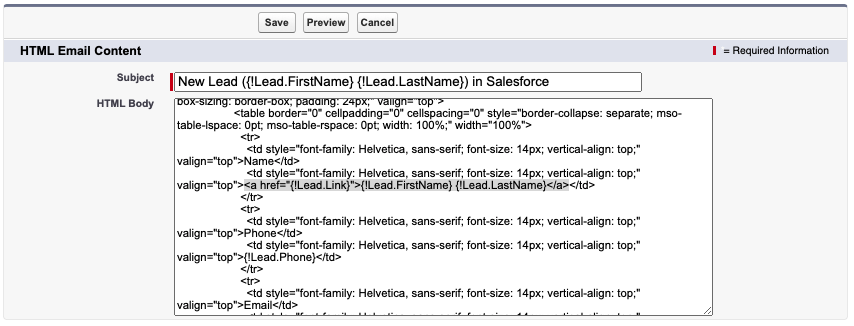
If you have cloned one of the other notification templates, you will now need to go through the template looking for merge fields, and replacing them with merge fields that are appropriate for the target object of the email. Do a search in the text for the {! characters, which will spot each merge field.
When you are done reviewing the merge fields, and the preview looks good, make sure the template is Available for use.
Purge Platform Cache before use
After making any changes to PA emails, be it updating existing mails or creating new ones, you will have to purge the Platform Cache (something that helps Plauti Assign be performant) so your changes will be picked up.
- Go to Plauti Assign > Assign Setup.
- At left, click Jobs & Maintenance.
- In the Maintenance section, click Purge Platform Cache
 .
.
Taking it One Step Further - Overriding the Default Template by MatchGroup
Above, we talked about how we can edit or create templates for a specific object. What if you wanted to use the regular Lead Notification Template for most of your leads, but then for a specific Match Group that segmented the HOT leads, you wanted to send a different email? This is where we override the default template in the Match Group.

- First, create a new template for these hot leads. The easiest thing to do is to clone the existing template and just rename it.
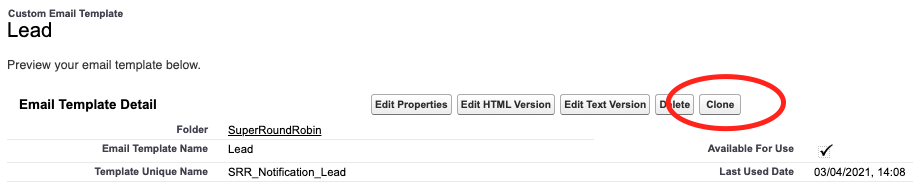
- In Salesforce Setup > Classic Email Templates > select the SuperRoundRobin folder > select a pre-installed template for the object and press the Clone button
- Then rename your cloned template. Change the Email Template Name and the Template Unique Name. You can name them whatever you want, but ensure you leave the template in the ‘SuperRoundRobin’ folder. In our example, we've renamed it to SRR_Notification_Hotleads. In the warning message up above it said to not change the names, but that is just for the pre-installed templates.
- Edit the template to your specifications; to change the color of the header strip in the example above, you need to change the color values in the HTML section that follows this comment: <!-- START NOTIFICATION BANNER -->
- When you are done with editing the template, ensuring you only use merge fields that are available for your object, save and then copy the Template Unique Name.
- Open up the Match Group page that you want to use this template for. Enter the Template Unique Name into the Custom Email Template field.
- Job done! Now all the records matched and assigned by this particular Match Group will use your new template for email alerts.

After making changes and saving, make sure to purge the Platform Cache in Assign Setup > Jobs & Maintenance!
